Scriptcase Manual Installation
Listed below are the steps needed to do a Scriptcase manual installation. To do the steps, it is needed that you have a web server configured in your machine.
1 - Download the Scriptcase (.zip) directly from the download page from our website.
2 - Extract the .zip file and rename the extracted folder to scriptcase.
3 - Move the scriptcase to your server root. Depending of your operating system and the installation the path can be different from the example. However, by default the paths are:
| Windows | Server |
|---|---|
C:\Apache24\htdocs\ |
Apache |
C:\inetpub\wwwroot\ |
IIS |
| Linux | Server |
|---|---|
/var/www/html/ |
Linux Local |
/home/$(whoami)/public_html/ |
Linux Server |
| macOS | Server |
|---|---|
/Library/WebServer/Documents |
Apache |
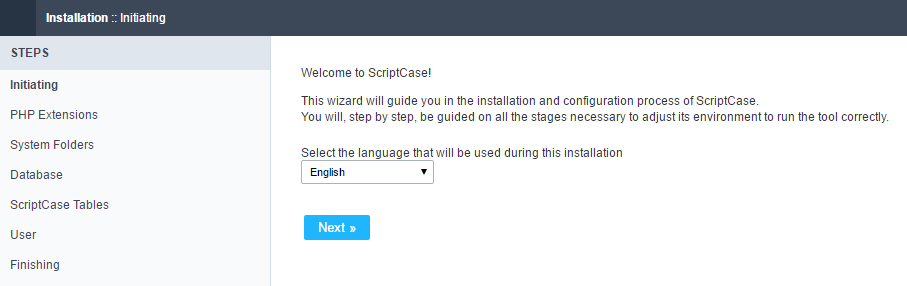
4 - Access the Scriptcase using your browser:
127.0.0.1/scriptcase
- By default the selected language is English.
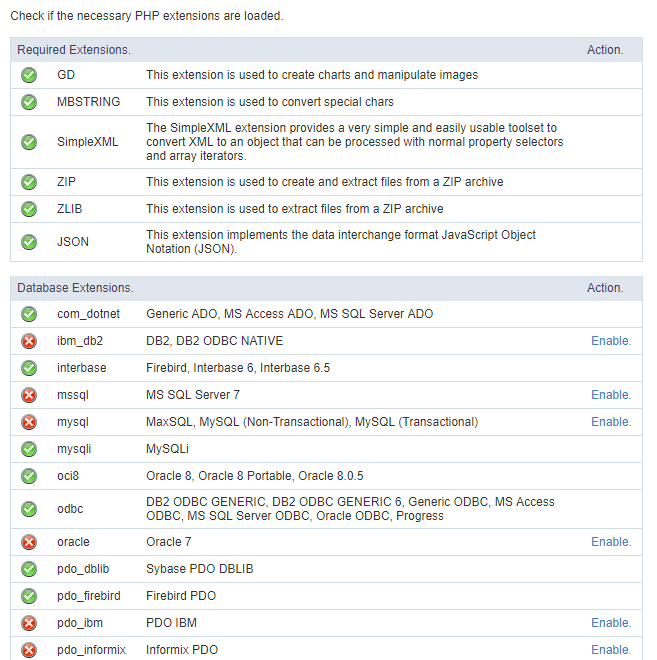
5 - Check the extensions required for Scriptcase to function and database connection modules that are enabled.
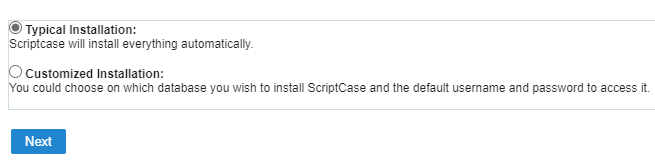
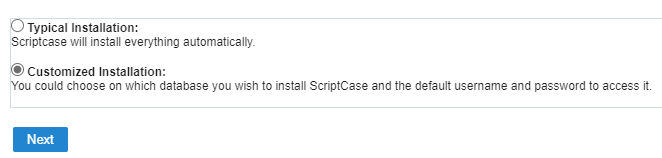
Typical Installation
Check the steps below to complete the manual installation of Scriptcase in a typical way.
NOTE: By selecting this installation, Scriptcase will set your environment by default. Defining the installation database and the login user in Scriptcase.
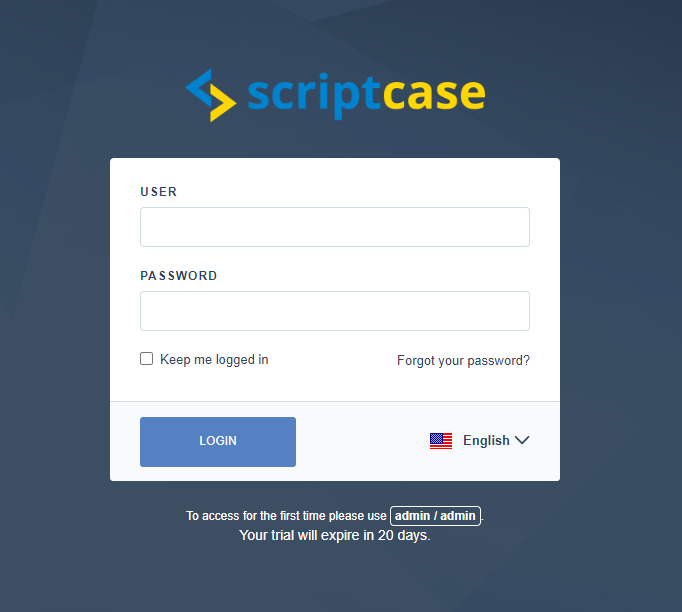
After clicking proceed, you will be redirected to the Scriptcase Login page.
User
In this field, it is necessary to inform the user to login to Scriptcase. By default, the user is admin.
Password
In this field, you must enter the password to login to Scriptcase. By default, the password is admin.
Keep me connected
This option keeps the user logged in until they log out through the Scriptcase interface.
Forgot your password?
By clicking this option, it is possible to recover the password of the informed user. An email will be sent to the user in question so they can access the recovery steps.
Important: You can only perform password recovery if you have configured your SMTP information. To access our documentation showing how to perform this configuration click here.
Custom Installation
Check the steps below to complete the manual installation of Scriptcase in a custom manner.
NOTE: By selecting this installation, you will be responsible for setting up your environment. Defining the installation database and the login user for Scriptcase.
1- Verify that the directories required by Scriptcase have the correct permissions. If any directory listed does not have the active check icon ![]() , correct permission for this directory.
, correct permission for this directory.
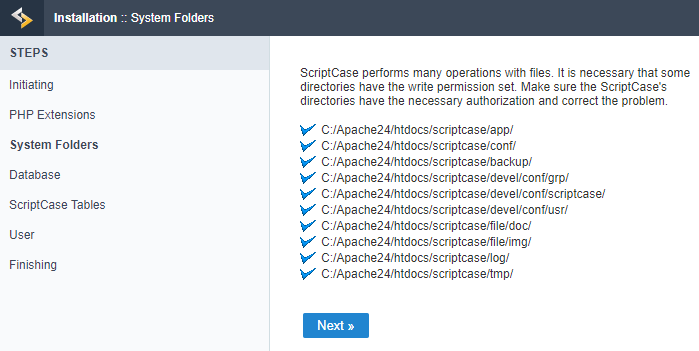
Click proceed to proceed with the installation process .
2- Choose the database where the Scriptcase database will be installed. By default, Scriptcase recommends that it be installed with the SQLite database.

- You can change the default database by clicking the Change Database button. By clicking this option you will need to set the following options:
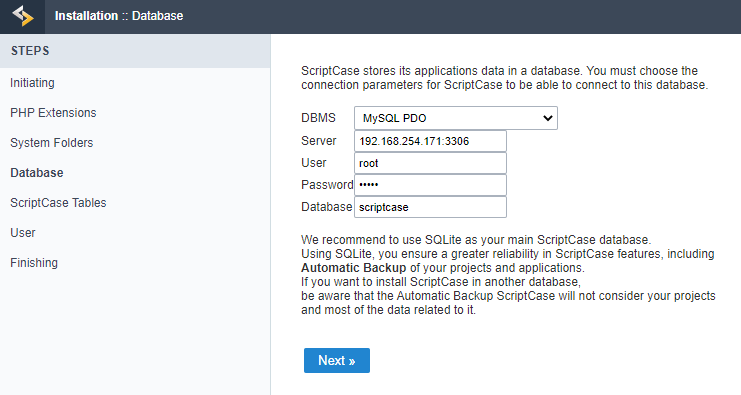
DBMS
In this option, you will select the Driver to connect to your database.
Server
In this option, you will inform the server to connect to the desired database.
User
You need to inform a user who has access to the database you want Scriptcase to be installed on.
Password
You must enter the authentication password corresponding to the entered user.
Database
You must enter the name of the database where Scriptcase will be installed.
Example:
scriptcase
Clique em prosseguir para avançar no processo de instalação.
3 - Verifique se a criação das tabelas da base de dados do Scriptcase ocorreu com sucesso. As tabelas serão marcadas com o ícone de sucesso ![]() na lateral.
na lateral.
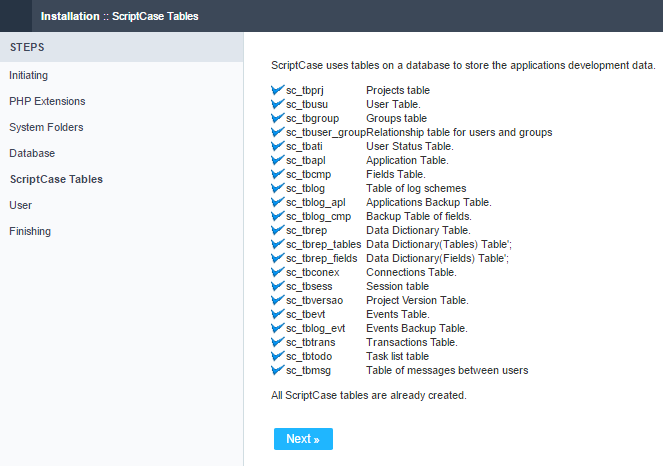
Click proceed to proceed with the installation process.
_4 -__ Set the default user who will have access to Scriptcase.
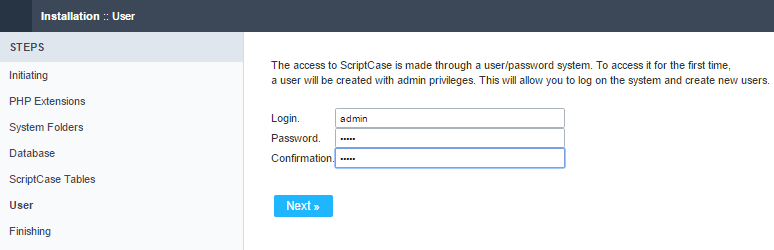
Login
In this option, you will enter the default Scriptcase User Login.
Password
In this option, you must enter the password that will correspond to the user informed.
Confirmation
You must repeat the previously entered password for successful user creation.
Click proceed to proceed with the installation process.
5 - Complete Scriptcase custom installation on your web server.
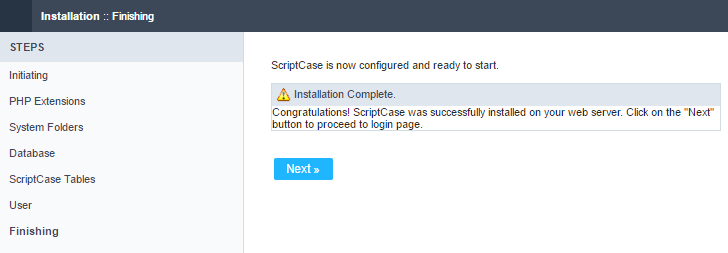
After clicking proceed, you will be redirected to the Scriptcase Login page.
User
In this field, it is necessary to inform the user to login to Scriptcase. By default, the user is admin.
Password
In this field, you must enter the password to login to Scriptcase. By default, the password is admin.
Keep me connected
This option keeps the user logged in until they log out through the Scriptcase interface.
Forgot your password?
By clicking this option, it is possible to recover the password of the informed user. An email will be sent to the user in question so they can access the recovery steps.
Important: You can only perform password recovery if you have configured your SMTP information. To access our documentation showing how to perform this configuration click here.
Need to register your Scriptcase? You can access our knowledge base to understand all the steps for registering a Scriptcase license.