Installer for Windows
The automatic installer quickly and simply configures the entire environment necessary to use Scriptcase. In addition to the tool itself, Apache and PHP will be configured, enabling essential libraries for the tool to function.
What will be installed
Scriptcase’s automatic installer does not install any database.
- Apache Web Server v2.4.53.
- PHP 8.1.6 with extensions MBSTRING, ZIP, BCMATH and GD enabled.
- SourceGuardian 13.0.3.
- Scriptcase
Installing Scriptcase with PHP 8.1 will not conflict with an existing installation of Scriptcase with PHP 7.0 or 7.3. The installer configures a different Apache service (ApacheScriptcase9php81) and port (8092) than the installer with PHP 7.0 or 7.3.
The installer is available on our website in x86 and x64 bit versions, download the installer according to your Windows architecture.
Compatibility Table
Scriptcase Automatic Installer is compatible with the following Windows versions
| Windows | Windows Server |
|---|---|
| Windows 11 | Windows Server 2022 |
| Windows 10 | Windows Server 2019 |
| Windows 8.1 | Windows Server 2016 |
| Windows 8 | Windows Server 2012 R2 |
| Windows Vista SP2 | Windows Server 2012 |
| Windows 7 SP1 | Windows server 2008 R2 SP1 |
| Windows server 2008 SP2 |
Installing Scriptcase with PHP 8.1 will not conflict with an existing Scriptcase installation using PHP 7.0 or PHP 7.3. The new Installer configures an Apache service (ApacheScriptcase9php81) with a different port (8092) than the installers with the PHP 7.0 or PHP 7.3.
Check out the installation step-by-step below.
Scriptcase installation
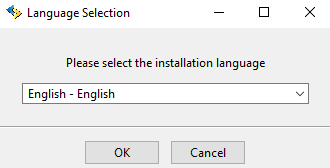
1 - Language Selection
You can select the language that will be displayed in the installation process. This step does not select the Scriptcase interface language, only the installer language.
Click Ok to continue.
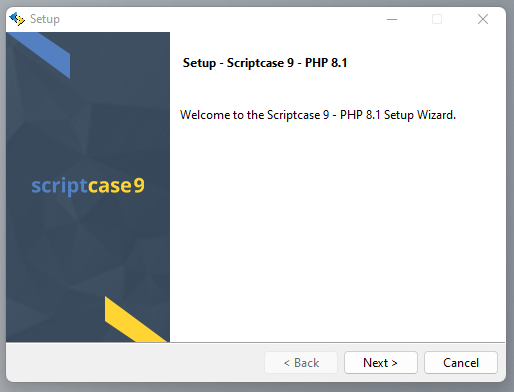
2 - Click “Next” to continue.
3 - License Agreement
Read and accept the terms of the license agreement

Click Next to continue.
4 - Installation Directory
The default installation path is “C:\Program Files\NetMake\v9-php81”. It is not recommended to make any changes to this path unless it is necessary.
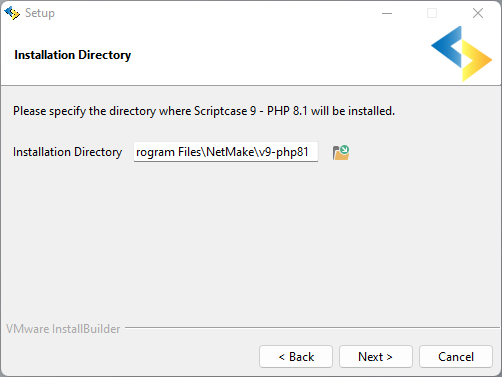
Installation directory
In this option, you can set the installation path.
 : This button lets you select the installation folder or create a new one.
Click Next to continue.
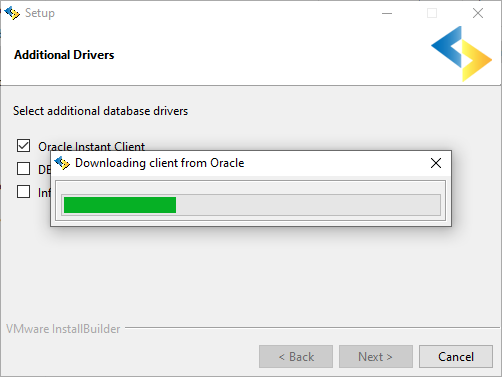
5 - Drivers Adicionais
In this step, you can enable the drivers for the Oracle, DB2 and/or Informix connections according to your needs. The other connections are automatically enabled when using our installer.
Choosing one of the drivers is optional, if you are not interested in enabling those drivers, just click Next.
This step is only available when using the x64 installer due to x86 architecture restrictions.

If you choose to configure any of the additional drivers, simply select the desired driver and click Next.
If you are using the x86 installer or have installed Scriptcase without selecting some of the drivers, check out our documentation on how to enable the Oracle, DB2 or Informix.
6 - Configure Apache.
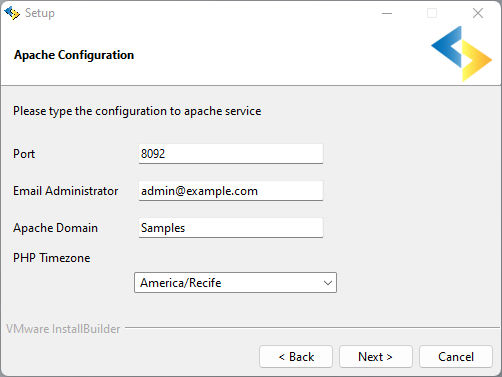
Port
Here will define in which port the Scriptcase Apache service will run on. We recommend using the value set in this installation. (8092).
Email Administrator
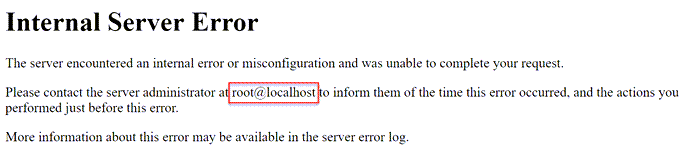
You can configure Apache administrator email for better control of your environment. This setting serves as information when a server error occurs. A message will appear along with the administrator email to be contacted.
Apache Domain
The Apache domain must be set here. We do not recommend making any changes to the default value.
PHP TimeZone
In this option, you can set your PHP TimeZone. It is recommended to select the option corresponding to your time zone. You can check the list of available TimeZones here.
Click Next to continue.
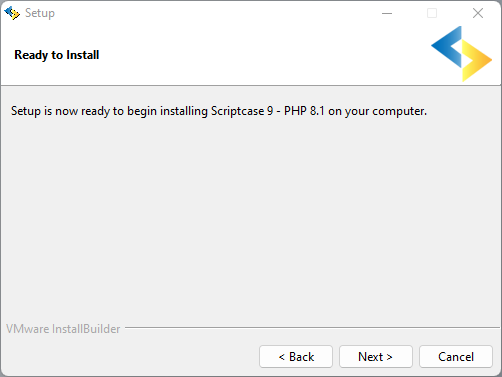
7 - Ready to Install
Clicking “Next” will start the installation process.
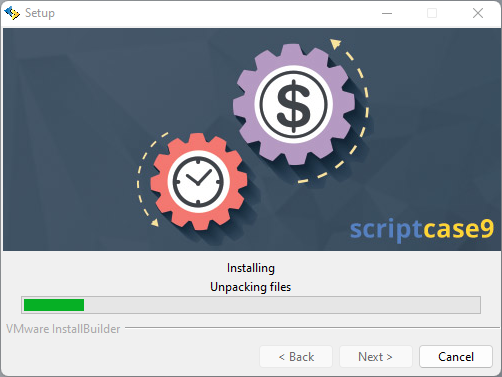
Wait until all components are installing and the environment is set up.
8 - Apache permission
Allow Apache to run on private and public networks (Firewall).
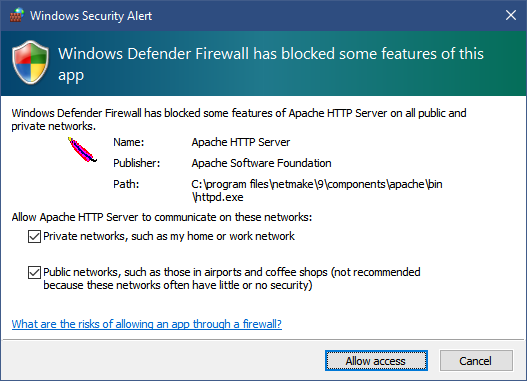
You must check both options to allow Scriptcase Apache to run on the operating system.
9 - Complete the installation
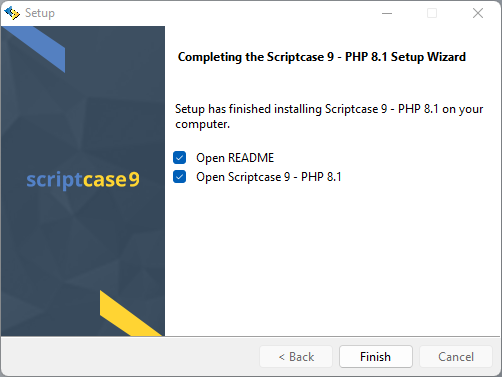
Open README
When you click Finish, you will be directed to a “Read Me” page with all the necessary initial information and useful links.
https://www.scriptcase.net/readme/
Open Scriptcase 9
Clicking “Finish”, will open Scriptcase in your default browser.
Access Scriptcase
1 - To access the Scriptcase you can use the shortcut created after installation or access using the browser.
Example to access on the local install
- 127.0.0.1:8092/scriptcase
- localhost:8092/scriptcase
Example to access on the server install
- 180.204.163.144:8092/scriptcase/
- mysc.domain.net/scriptcase/
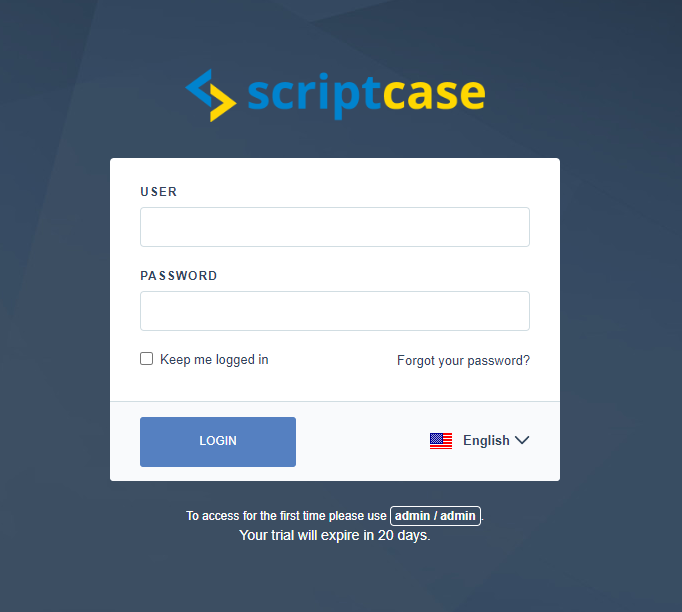
2 - After accessing the Login page, you must enter the username and password to proceed to your development environment.
After finishing the installation, you can use the version free of charge for a period of 20 days and you will have access to technical support via chat to help you during the evaluation. If you already have a serial, see how to register your scriptcase.
User
In this field, you must enter the user to login to Scriptcase. By default, the user is admin.
Password
In this field, you must enter the password to login to Scriptcase. By default, the password is admin.
Keep me logged in
This option keeps the user logged in until they log out through the Scriptcase interface.
Forgot your password?
This option makes it possible it is possible to recover the password to access Scriptcase. This feature is only available after configuring SMTP in Scriptcase settings. See how to set the SMTP