Connecting with DB2 Native ODBC
In Scriptcase, we have the following drivers available for connection to DB2: DB2 and DB2 Native ODBC. If you are using your own, pre-configured environment, DB2 extensions must be manually enabled in PHP.
Automatic Installation
If you installed the tool through the automatic installer, and did not install the driver at the time of installation. You must download the DB2 driver installer according to your architecture and install it. The installation will install the client and enable the necessary extensions.
To check the architecture, just access http://127.0.0.1:8092/scriptcase/info.php
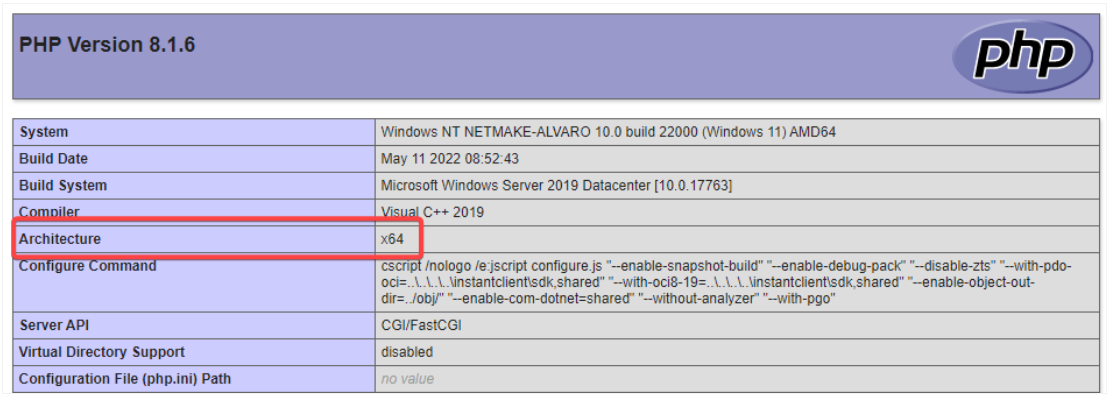
x64
- scriptcase_database_drivers_v9.9-x64-php8.1: Download
x86
- scriptcase_database_drivers_v9.9-x86-php8.1: Download
Manual Installation
Prerequisites
Before proceeding with this documentation, check your PHP architecture. In order for drivers to be enabled correctly, files must be downloaded according to the used architecture.
- In your Scriptcase, there is the file info.php, access it by the URL:
http://127.0.0.1:8092/scriptcase/info.php, where you will find the information regarding the architecture in phpinfo().
- Architecture x86 = 32 bits
- Architecture x64 = 64 bits
Listed below are the files required for DB2 drivers to be enabled.
Required files:
x64
- IBM Data Server Runtime Client 11.5(x64): Click here
x86
- IBM Data Server Runtime Client 11.5(x86): Click here
Other Files
- PHP extensions (PHP_PDO_IBM and PHP_IBM_DB2): Click here
Configuring DB2 Native ODBC on Windows
Before installing the IBM Data Server Runtime Client, you need to enable the extensions in PHP for Scriptcase to recognize the DB2 connection drivers. Follow them steps below to correctly enable all drivers in Scriptcase.
1 - Extract the .zip file and copy the downloaded php_pdo_ibm and php_ibm_db2 .dll extension files previously to your PHP ext folder.
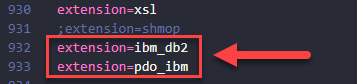
2 - In the php.ini file, located in C:\php, add the lines referring to the DB2 extensions php_pdo_ibm and php_ibm_db2. See the example below:
extension=ibm_db2
extension=pdo_ibm
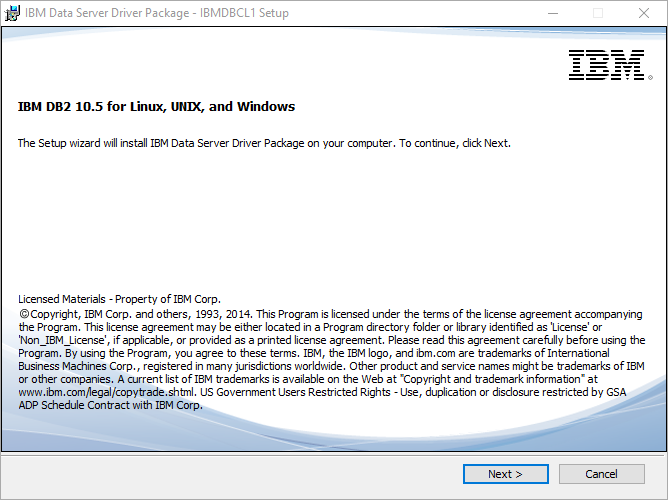
3 - After downloading, follow the installation wizard by clicking on next, keeping the default values of the installer.
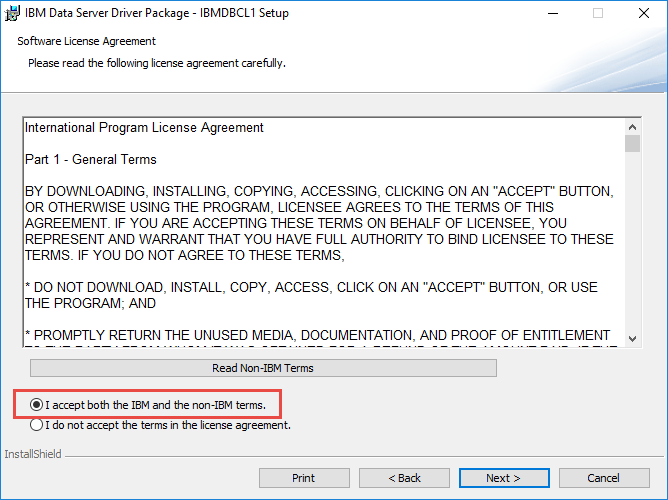
4 - Accept the terms and proceed with the installation.
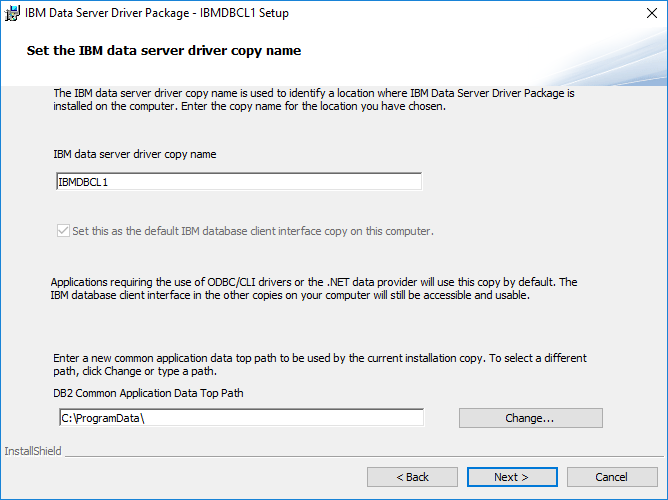
5 - Click Next, to keep the default values of the installer.
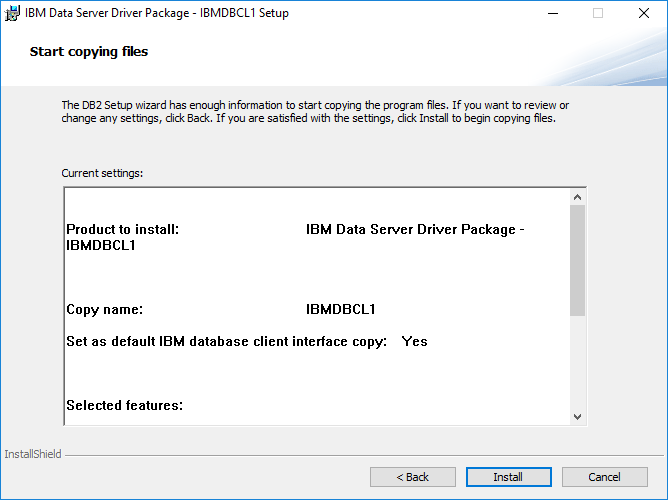
6 - Click Install, to start the installation process.
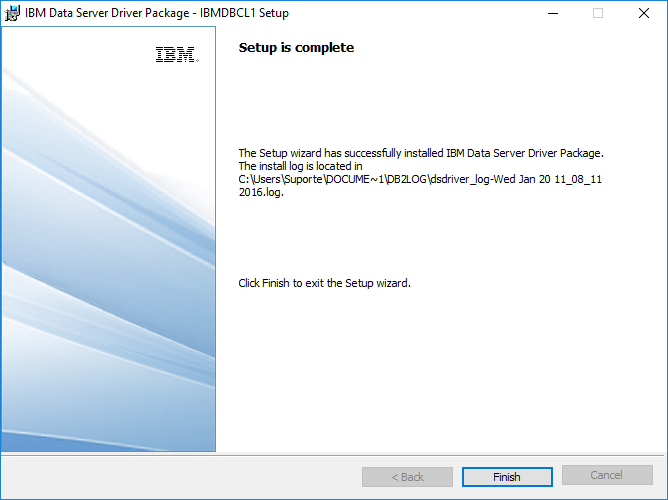
7 - Click Finish to complete the installation.
8 - Restart the Apache service using the Task Manager.
-
Open the Task Manager and click on the Services tab.
-
Search for the
Apacheorapachesc9php81service and Restart the service.
Creating a Connection in Scriptcase
See below how to create a connection in your Scriptcase project, using the enabled Driver and the DB2 database.
1 - Access a project from your Scriptcase.
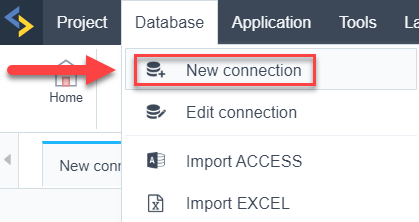
2 - Click the New Connection icon to create a connection
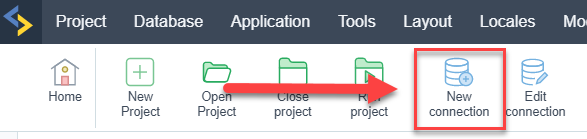
or access the Database > New connection menu.
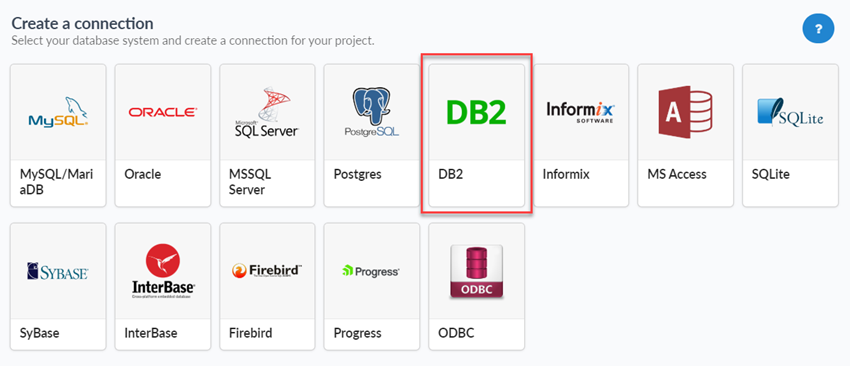
After that, a screen will appear with all database connections.
3 - Select the DB2 connection.
Connection
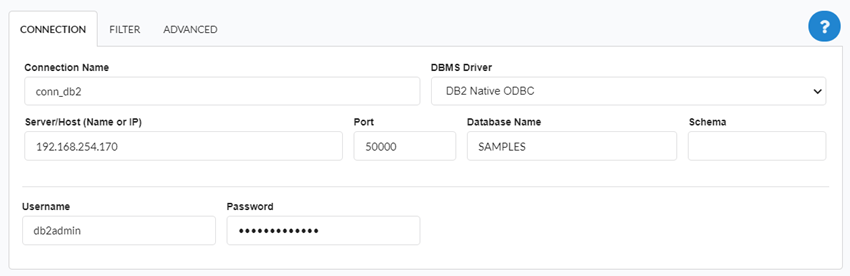
Enter the parameters for connecting to your database as follows:
-
Connection name: Define the name of your new connection. By default, Scriptcase adds the prefix conn along with the database name.
-
DBMS Driver: Select the Driver for connection. In this example, we use Driver DB2 Native ODBC.
- Server/Host (Name or IP): Enter the IP or domain of the server where the database is installed.
-
EX:
dominiodoserver.comor192.168.254.170 -
Port: Enter the port to connect to DB2. By default, the defined port is 50000.
- Database Name: Enter the name of the database you will connect to.
-
EX:
SAMPLE - Schema: Inform the Scheme of specific tables created for the use of the informed user.
- This item is optional if you do not have a schema configured in your database .
- This item is optional if you do not have a schema configured in your database .
-
Username: Inform the user to authenticate the connection to your database.
-
Password: Enter the password to complete the authentication process.
- Test connection: Click this button to get a response to the Scriptcase request to find out if the parameters entered are correct.

Security
Here are the security options available for a DB2 connection and their descriptions:
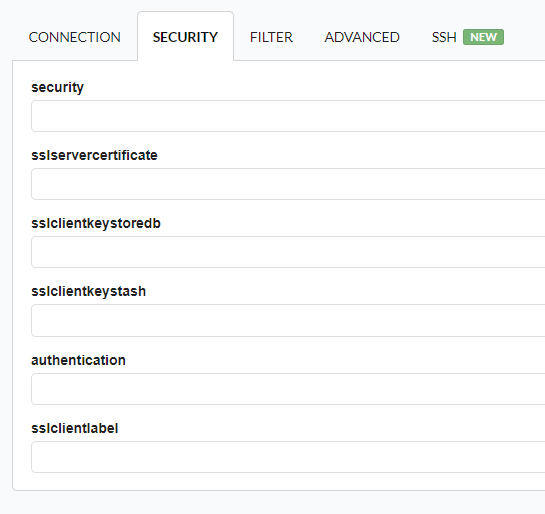
Security
Defines the security mechanism used for the connection. It can include options like SSL, Kerberos, or other authentication protocols.
sslservercertificate
Specifies the server’s SSL certificate file used to establish a secure connection. This helps verify the identity of the database server.
sslclientkeystoredb
Refers to the client-side keystore database file that contains SSL certificates and keys necessary for encrypted communication with the DB2 server.
sslclientkeystash
The keystore stash file that contains the encrypted password for the keystore database, allowing the client to access SSL keys securely without manual intervention.
Authentication
Defines the authentication method used for connecting to the DB2 server. It can include methods such as SERVER, CLIENT, or GSSAPI.
sslclientlabel
Specifies the label of the client certificate stored in the keystore database. This helps identify which certificate should be used when multiple certificates exist in the keystore.
Filter
Accessing this tab, you can configure which Database items will be displayed on the connection, depending on the owner or not.
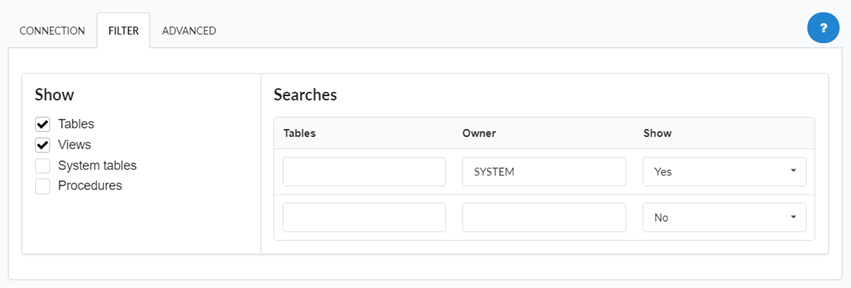
Show
It allows the connection to see tables, views, system tables and procedures depending on the items selected by the user. By default, the items Tables and Views are already selected by Scriptcase.
- Tables: Selecting this option, the tables in your database will be displayed.
- By default, Scriptcase enables this option .
- By default, Scriptcase enables this option .
- Views: By selecting this option, the views of your database will be displayed.
- By default, Scriptcase enables this option .
- By default, Scriptcase enables this option .
-
System Tables: Selecting this option, the system tables of your database will be displayed.
- Procedures: By selecting this option, the procedures of your database will be displayed.
Searches
Allows you to define which tables and owners are displayed.
- Tables: You can define in this option which tables will be displayed. The configuration can contain a
PREFIX%%or name of the tables to display.- By default, Scriptcase leaves this option empty .
- EX:
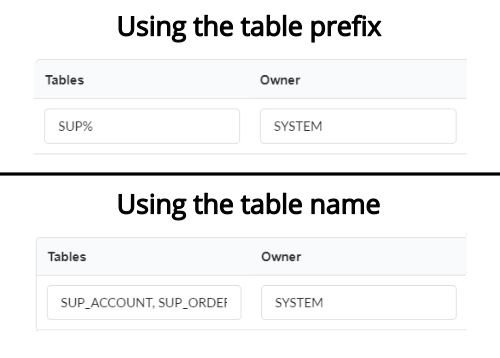
- Owner: Inform the user who sees the tables informed for display.
- User must be capitalized as in the example above .
- User must be capitalized as in the example above .
- View: Choose whether tables for the informed owner are displayed.
NOTE: By using table filtering, you eliminate unnecessary tables for your project and improves the performance of your database connection.
Advanced
In this tab, you have access to specific settings for the connection. The settings made in this session impact the data display and application performance.
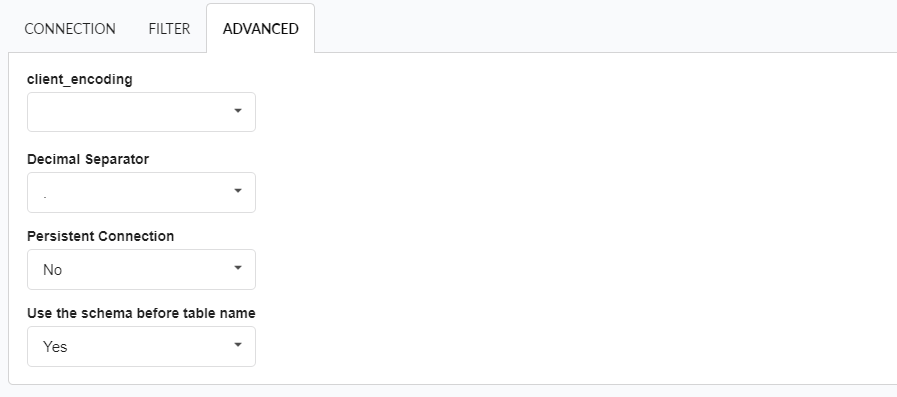
- client_encoding: Select the encoding used in your database. In the example above, we use client_encoding UTF-8.
- By default, this option is left blank by Scriptcase .
- By default, this option is left blank by Scriptcase .
- Decimal Separator: Select the type of separator for decimal records, between comma and period.
- By default, the
.dot is selected as a separator .
- By default, the
- Persistent Connection: Define whether connections will be closed after the execution of your scripts in Scriptcase applications.
- By default, Scriptcase disables this option .
- By default, Scriptcase disables this option .
- Use the schema before the table name: Define whether the database schema will be displayed before the table names.
- By default, Scriptcase enables this option .
SSH
Here are the SSH options available in the image and their descriptions regarding database connection:
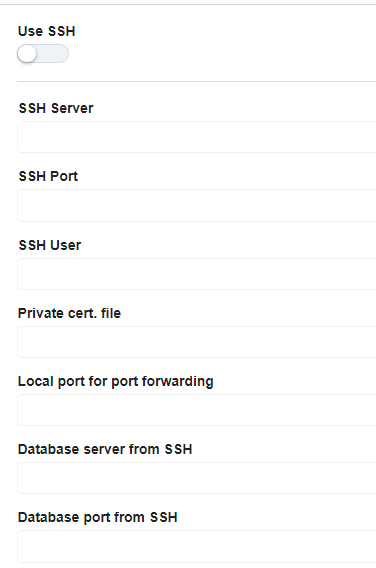
Use SSH
Enables or disables the SSH tunnel for database connection. When enabled, the database connection will be routed through the SSH server.
SSH Server
The IP address or hostname of the SSH server that will be used for tunneling. This is the machine that will act as a bridge to access the database securely.
SSH Port
The port used to connect to the SSH server.
SSH User
The username used to authenticate with the SSH server. This user must have permissions to establish an SSH connection.
Authentication method
You can choose two options: password or certificate. When you choose one of the options, a new field will appear below for the configuration.
Private cert. file
The private key file used for authentication if the SSH server requires key-based authentication instead of a password.
Local port for port forwarding
The local port on the client machine that will be used for forwarding database traffic through the SSH tunnel. This port acts as a bridge between the database client and the remote database.
Database server from SSH
The hostname or IP address of the database server as seen from the SSH server. This is necessary when the database is only accessible within the SSH server’s network.
Database port from SSH
The port of the database server that will be accessed through the SSH tunnel. This should match the database service’s listening port.