Windows
Before proceeding with this tutorial check the architecture of your PHP within the phpinfo (). Accessing the phpinfo of your scriptcase, for example http://127.0.0.1:8092/scriptcase/info.php, you will find the PHP architecture.
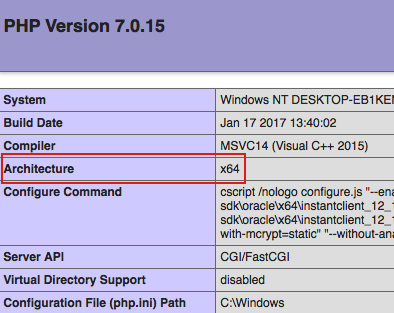
- Architecture x86 = 32 bits
- Architecture x64 = 64 bits
If you are using Scriptcase automatic installer the PHP architecture will be the same as the installer you downloaded.
Progress OpenEdge ODBC
Setting up Progress connection using ODBC on Windows
Requirements
- The Progress Database needs to be installed.
- Have one or more tables created.
- Driver Progress® OpenEdge® ODBC Connector for Windows installed.
Enabling the extension
- First we must download the Progress® OpenEdge® ODBC Connector for Windows according to the architecture of your PHP.
- To download the 64-bit engine click here
- To download the 32-bit engine click here
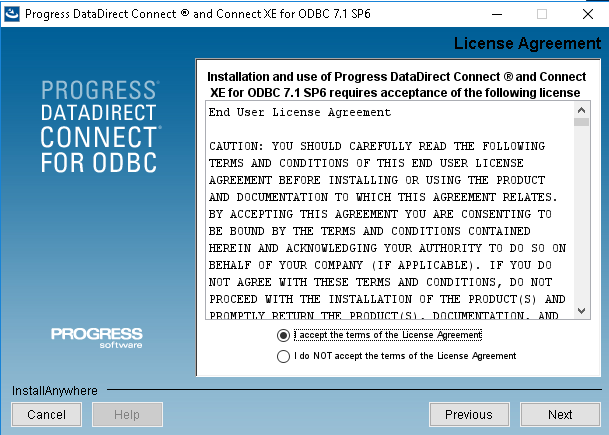
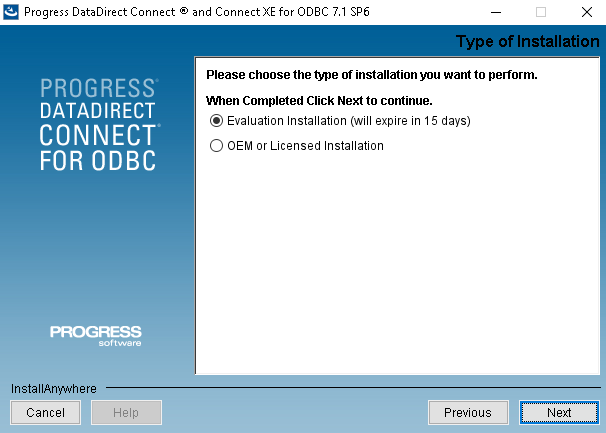
- At the end of the download, follow the Progress OpenEdge ODBC Connector installation wizard.
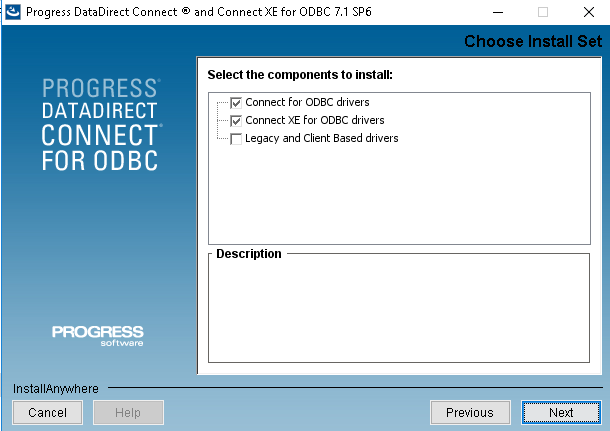
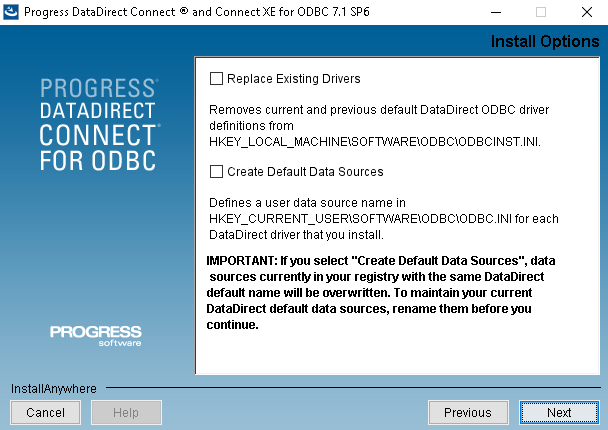
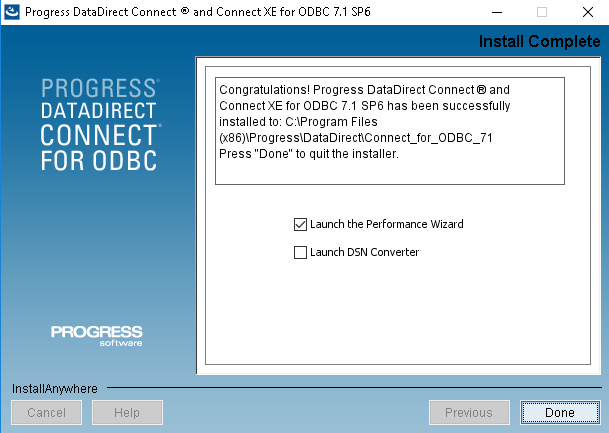
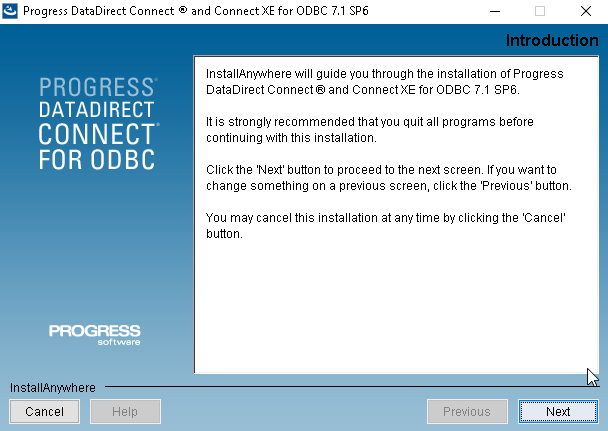 Installing the Progress OpenEdge ODBC Connector.
 Installing the Progress OpenEdge ODBC Connector.
 Installing the Progress OpenEdge ODBC Connector.
 Installing the Progress OpenEdge ODBC Connector.
 Installing the Progress OpenEdge ODBC Connector.
 Installing the Progress OpenEdge ODBC Connector.
 Installing the Progress OpenEdge ODBC Connector.
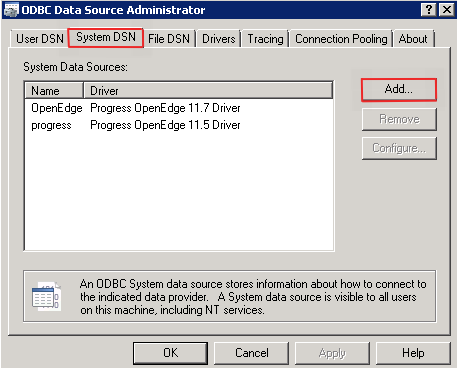
Creating a Data Source (ODBC)
- Go to Control Panel> Systems and Security> Administrative Tools> ODBC Data Sources (32 or 64 bits), according to your PHP architecture.
- If you have a data source configured, proceed to Creating a Connection in ScriptCase.
- Select the System DNS tab and click Add.
 Accessing and Configuring the ODBC Data Source.
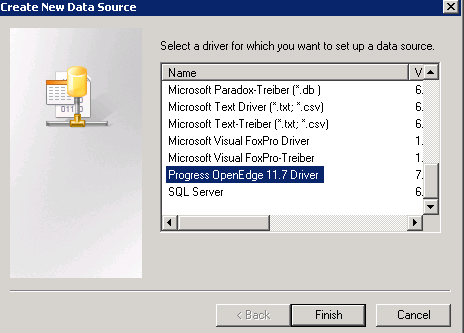
- Chose the following driver:
- Progress OpenEdge 11.7 Driver
 Accessing and Configuring the ODBC Data Source.
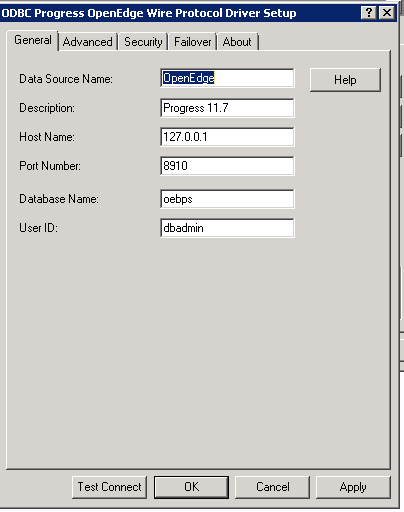
- After selecting the driver, the following screen will be displayed:
- Six fields are required for data source configuration:
- Data Source Name: Name of the data source that will be used when creating the connection in Scriptcase;
- Description: A description for your driver;
- Host Name: IP from where the database is installed;
- Port Number: Port Number;
- Data Base Name: Database name that will be used in the connection;
- User ID: User name;
- Six fields are required for data source configuration:
 Creating the Data Source.
-
After selecting the database, click OK to complete the configuration.
-
Returning to the ODBC Data Source Administrator screen you can view the already configured connections.
Creating a Connection with ScriptCase
- Access ScriptCase using the URL http://127.0.0.1:8092/scriptcase
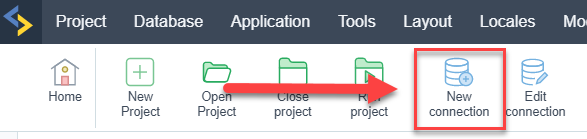
- After accessing ScriptCase, access or create a new project, click on the new connection icon or access “Database > New Connection”
 Creating a new connection
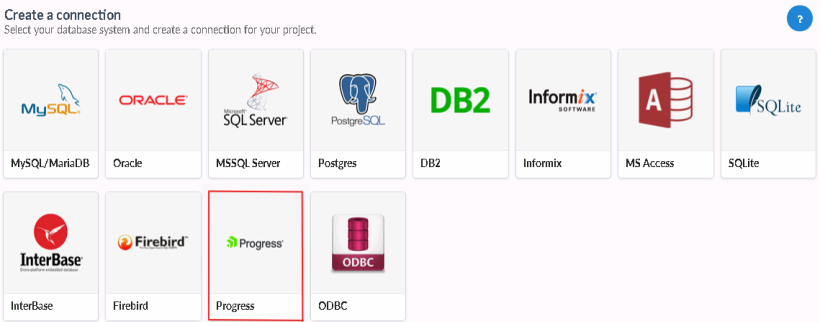
- After that, you will see a page with all the database connections that you can create. Select a “Progress” connection
 Selecting a Windows database connection
- New connection : You will place the information of the connection to your database here:
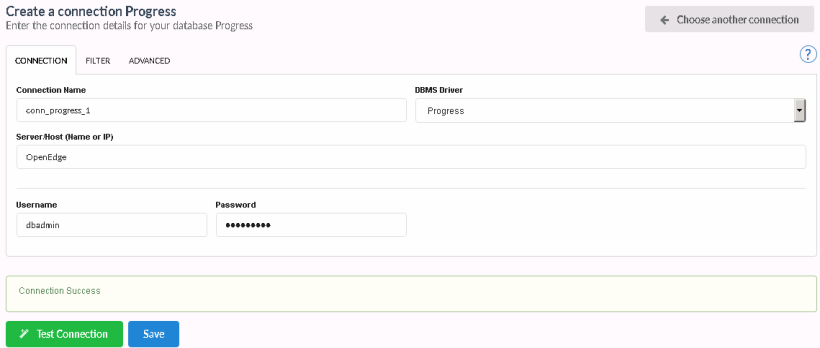 Connecting with Windows database
- Connection Name : Defines the name of your new connection.
- DBMS Driver : Defines the driver with ODBC.
- ODBC Name : On the option ODBC Name, inform the data source (ODBC) name that was created in the Windows Control Panel.
- Username : Inform the username for Windows database (Just in case you are in fact using one).
- Password : Inform the password for Windows database (Just in case you are in fact using one).
- Test Connection : Displays the connection status (Success or Failed).
-
Finalize: Save connection.
- For more options on connecting, click on the Advanced tab:
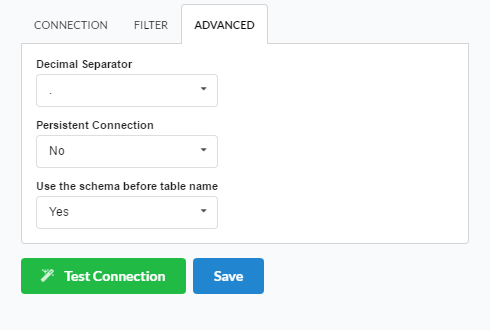 Advanced setup for the Windows database
- Decimal Separator - Select the separator type, between a dot or a comma.
- Persistent Connection - Persistent Connection are connections that do not close when finishing a script.
-
Use the schema before table name - Allows the use of schema before the name of the tables.
- Filter : Accessing this tab, we can setup which tables will be listed on this connection:
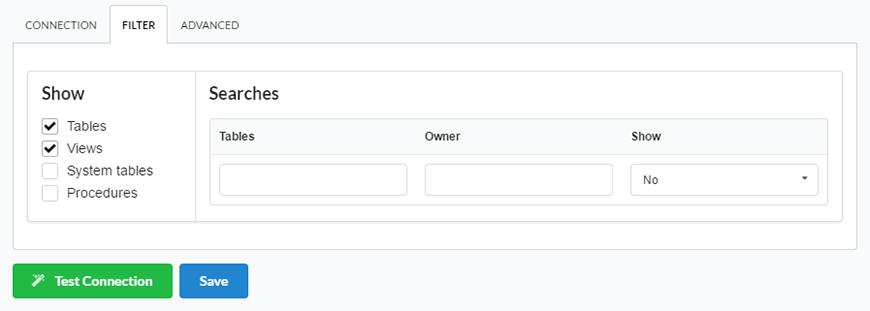 Filtering the Windows database
- Show - Allows the display of the the filters on the tables, views, System Tables and procedures.
- Tables - Allows to setup the display of Tables from your database.
- Views - Allows to setup the display of Views from your database.
- System Tables - Allows to setup the display of System Tables from your database.
- Procedures - Allows to setup the display of Procedures from your database.
- Searches - Allows to define which tables and Owner will be displayed.
- Tables - Allows to define a prefix (prefix%) or name of the tables for display.
- Owner - Allows to define the owner of the tables for listing.
- Show - Allows to define what will be displayed or not from the table an owner’s setup.
Advanced
In this tab, you have access to specific settings for the connection. The settings made in this session impact the data display and application performance.
![Advanced database connection configuration][conexao_avancado]
- Decimal Separator: Select the type of separator for decimal records, between comma and period.
- By default, the
.dot is selected as a separator .
- By default, the
- Persistent Connection: Define whether connections will be terminated after the execution of your scripts in Scriptcase applications.
- By default, Scriptcase disables this option .
- By default, Scriptcase disables this option .
- Use the schema before the table name: Define whether the database schema will be displayed before the table names.
- By default, Scriptcase enables this option .
SSH
Here are the SSH options available in the image and their descriptions regarding database connection:
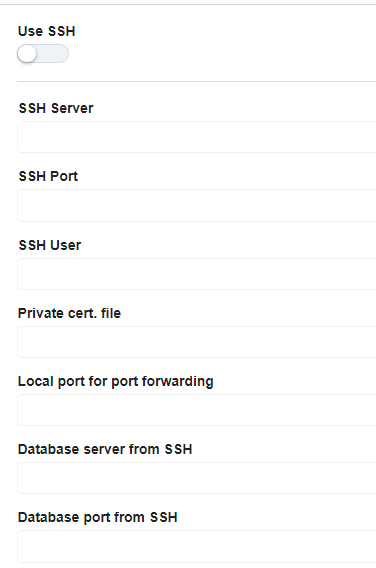
Use SSH
Enables or disables the SSH tunnel for database connection. When enabled, the database connection will be routed through the SSH server.
SSH Server
The IP address or hostname of the SSH server that will be used for tunneling. This is the machine that will act as a bridge to access the database securely.
SSH Port
The port used to connect to the SSH server.
SSH User
The username used to authenticate with the SSH server. This user must have permissions to establish an SSH connection.
Authentication method
You can choose two options: password or certificate. When you choose one of the options, a new field will appear below for the configuration.
Private cert. file
The private key file used for authentication if the SSH server requires key-based authentication instead of a password.
Local port for port forwarding
The local port on the client machine that will be used for forwarding database traffic through the SSH tunnel. This port acts as a bridge between the database client and the remote database.
Database server from SSH
The hostname or IP address of the database server as seen from the SSH server. This is necessary when the database is only accessible within the SSH server’s network.
Database port from SSH
The port of the database server that will be accessed through the SSH tunnel. This should match the database service’s listening port.
.png