HelpCase
In this article, you learn how to create the documentation for your project using this integrated tool: HelpCase.
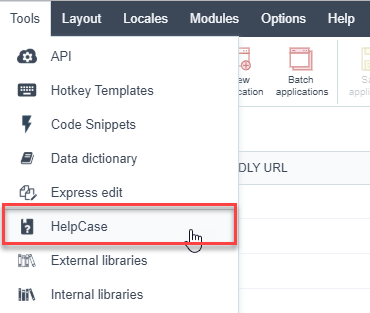
You find the HelpCase from the menu at Tools > HelpCase.
How to Create a HelpCase
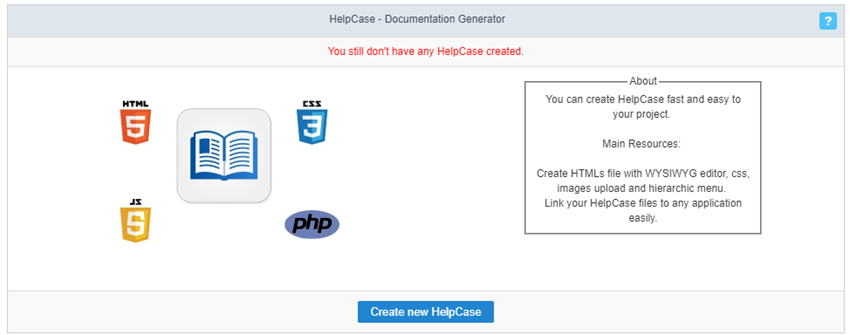
The HelpCase creates HTML files with WYSIWYG editor, CSS, images upload, and hierarchic menu. You can also link HelpCase files to the applications you create within Scriptcase.
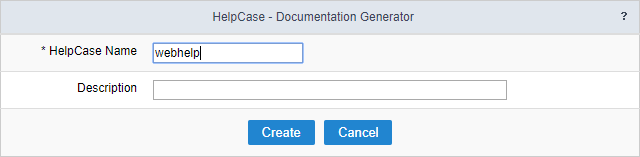
The first step to creating a document using the HelpCase is to enter a name and description.
After creating the HelpCase, you need to generate the content of the documented manual of the functionalities and description of the project.
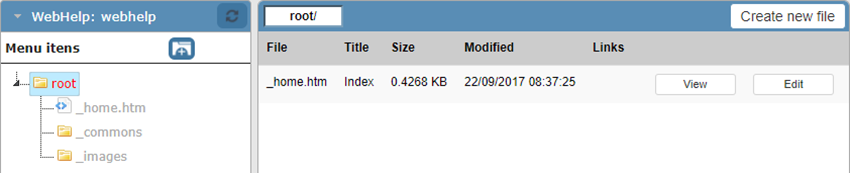
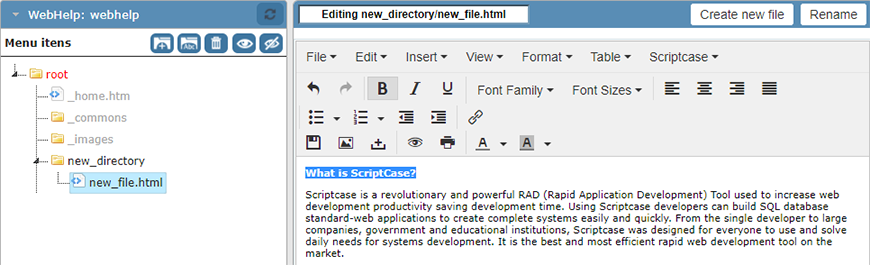
On the left side, in the block ‘WebHelp,’ you see the folder structure. Still, in this block, we can create the folders of the documentation.
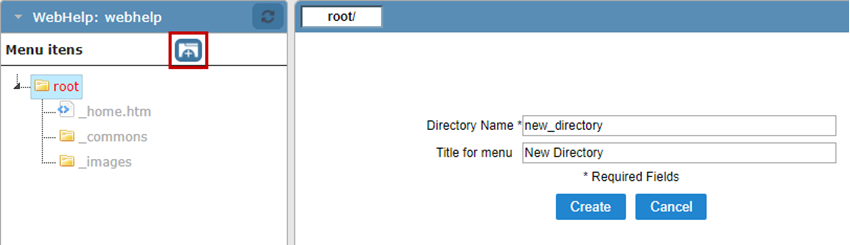
Select the root or any other folder on the side panel and click on the folder icon to create a folder in the select directory.
Inform the directory name (Special characters are not acceptable) and the display name in the documentation menu.
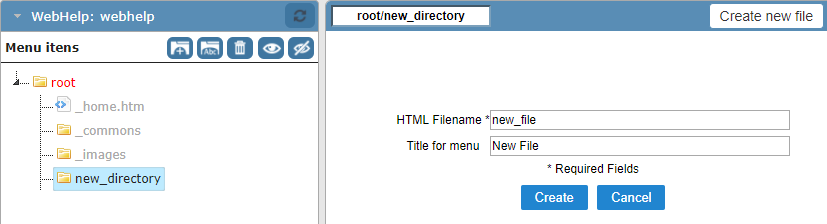
To create .html files, where you place your content, you need to select the directory where you place the files.
Inform the name of the file (Special characters are not acceptable) and the display name in the documentation menu.
Editing the HelpCase
When you select the folder, you see some options.
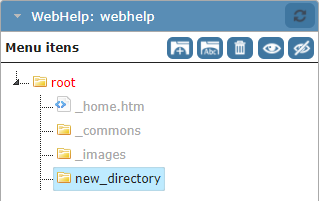
- Icon (Folder with letters) - Allows you to rename the archives and the display name for the menu.
- Icon (Recycle Bin) - Deletes the directory with all its content.
- Icon (Eye) - View the directory in the documentation menu.
- Icon (Slashed Eye) - Disable the view of the directory in the documentation menu.
After created, the files are displayed on the list when clicking on the created directory. Details about the files can be viewed, like the display title on the menu and its actual size, also other options like rename and delete.
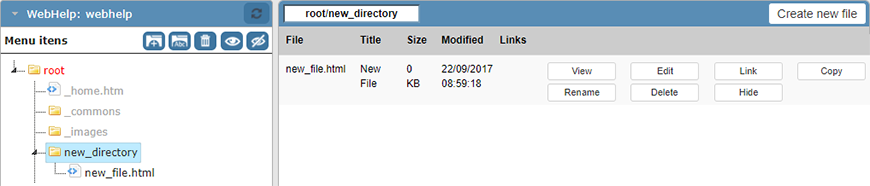
- View - View the content of the file.
- Edit - Open the file to place your content in it.
- Link - Create a link between the file and the applications selected.
- Copy - Creates a copy of the file.
- Rename - Rename the file and it is display menu.
- Delete - Deletes the chosen file.
After the creation or clicking on edit a file, you can insert the content that will be displayed for the end user.
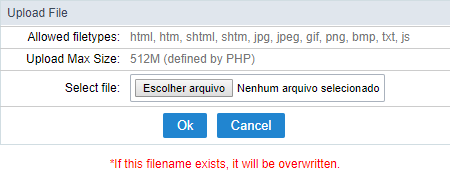
Upload
You can upload already created content or images to use in the manual. The upload of these files, can be done by clicking on the upload button, on the upload page you will see the supported formats and size limit of the files.
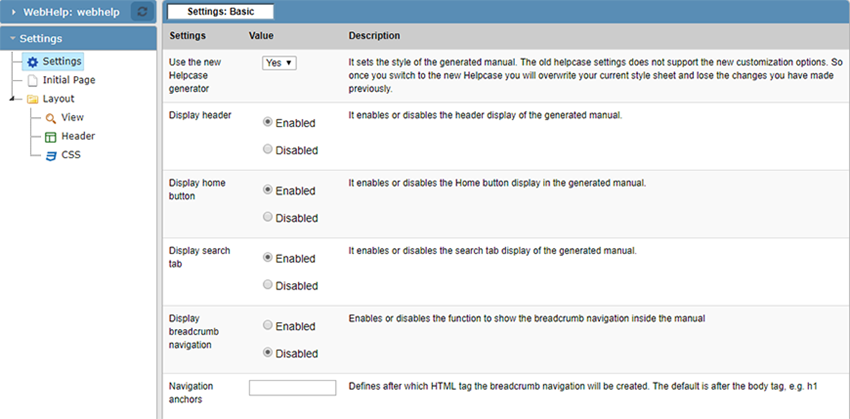
General Settings
Settings
Allows you to setup some things, like the header display and the search tab.
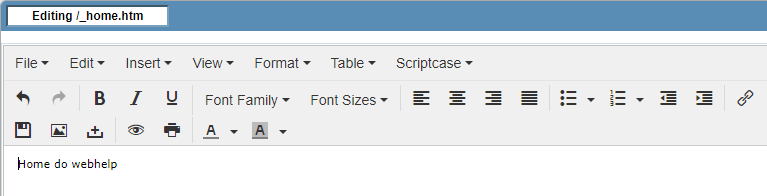
Initial Page
Allows to write content of the initial page of the documentation. The modification can be done also when selecting the _home.htm file on the files panel.
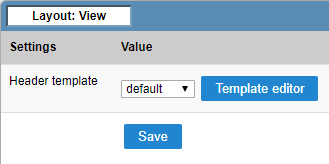
View
Define a template to be used in the header of the manual, it is possible to edit or create new templates in the editor.
This editor can be accessed from the menu Layout > HTML Templates
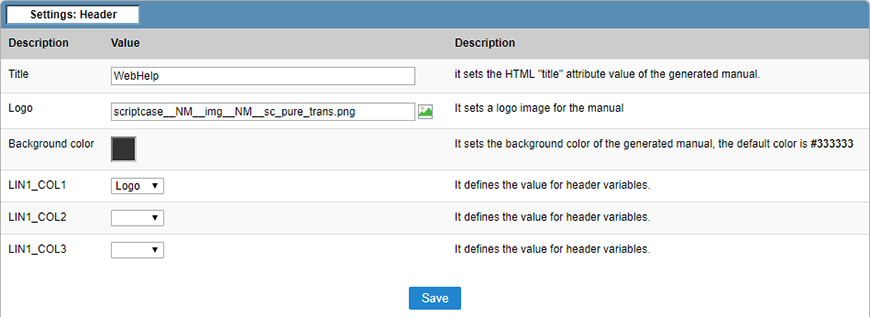
Header
Allows to configure what will be displayed in the header.
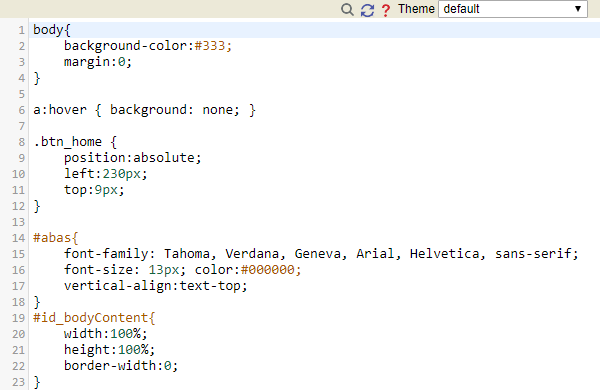
CSS
Allows to modify the HelpCase CSS.
After creating all the content and the configuration of the layout, you need to associate the create files with the applications, so that the end user can have access to the information that he needs in a quick way.
Associating Applications
You can start associating all the applications at once by clicking on links, or clicking on link, where you can associate only the chosen file to various applications.
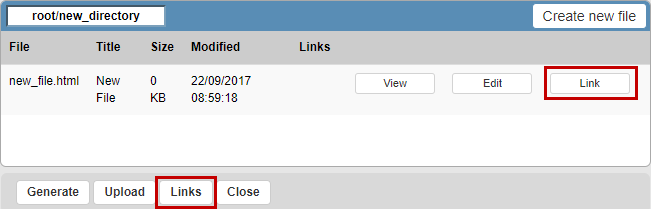
Links
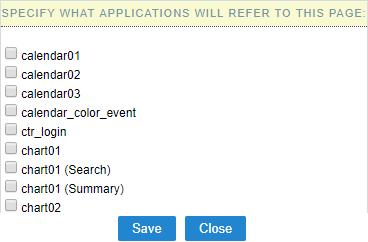
On this option, you will see a list of the applications, where you should select the applications that will be associated.
Link
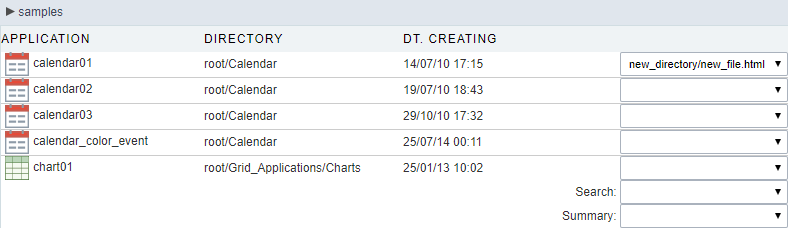
Clicking on link, you will be presented a list of all the applications, in this case you need to select the files that will be associated for each application.
Generating Manual
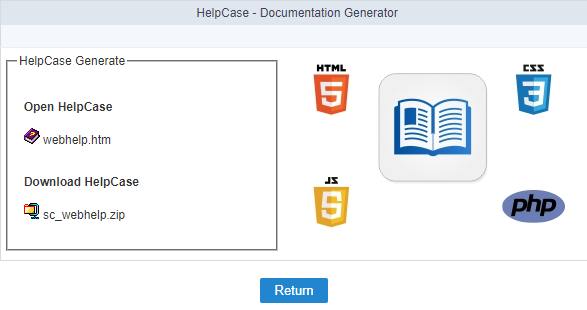
Generating the manual is the last step of its creation, after doing all the configurations, click on generate.

After generating the manual, you can download or access it.
For you to have access to the manual from the applications, you need to click on the button WebHelp on the toolbar of the applications that have a link to the manual.
