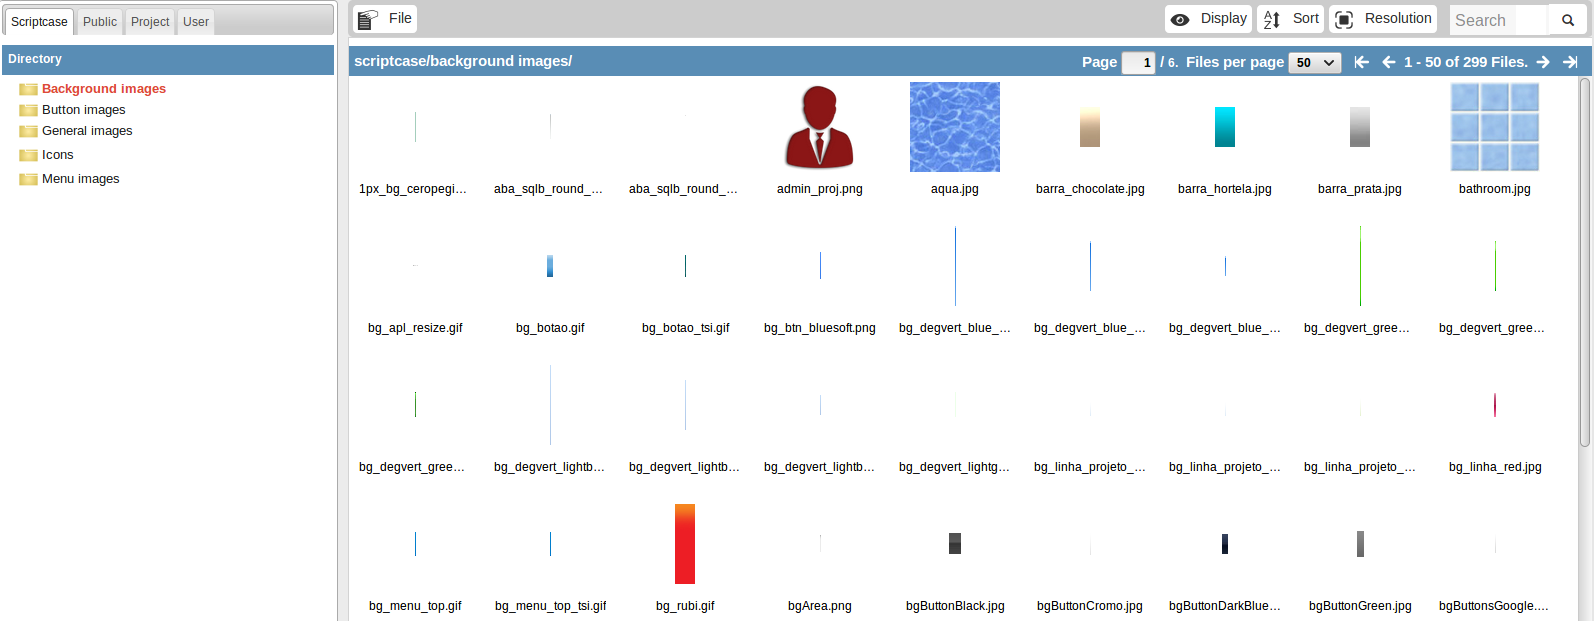
Images Manager
The Images Manager is where you’ll organize and upload new images that’ll be used in your project.
To upload new images, you need to select the scope of which the image will be part, after selecting the folder where the image will be stored at and after that click on File > Upload.
When the image is uploaded, the image’s name is modified depending on the scope of which it’s part of (public, project or user) and the type of image (background, button, icons, menu or general) following the pattern below:
- sys__NM__ (Public)
- grp__NM__ (Project)
- usr__NM__ (User)
Image Type:
- bg__NM__ (background images)
- btn__NM__ (button images)
- img__NM__ (general images)
- ico__NM__ (icons)
- menu_img__NM__ (menu images)
This way, the image called 001.jpg that was added to the public and icon scope will receive the name sys__NM__ico__NM__001.jpg
The image will be in the folder “app/project_name/_lib/img” in the development environment and in the production, will be “/project_name/_lib/img”.
After uploading the image to the project, you need to insert the image in the applications that you desire, to do that in the applications desired, go to Applications > Settings > Application images and click on the icon next to the garbage icon to add an image.